To start out with, I've fallen in love with The Cottage Mama blog and patterns. Lindsey Wilkes has created some beautiful patterns, great tutorials, and a wonderful Facebook page to follow for help from fellow Cottage Mama blog followers. Most of her patterns are beautiful dresses for girls, but she has an awesome pattern, the Run-Around Romper, that I love for my little guy. I wanted to make him one for Thanksgiving, but wanted to make it with a snap crotch for easier diaper changes. Another fan on the Facebook group posted that she had done it, and agreed to send me a message telling me how to do it. It was easier than I expected, and with her permission I want to share that help with you.
First, you will need to purchase the Run-Around Romper pattern. You can get it from the Cottage Mama shop here, or from her Etsy store. All the Cottage Mama patterns are available in PDF form for instant downloads. Follow along until you finish step 7 (sewing the top of the romper together).
Once you turn and press the straps that have been stitched,
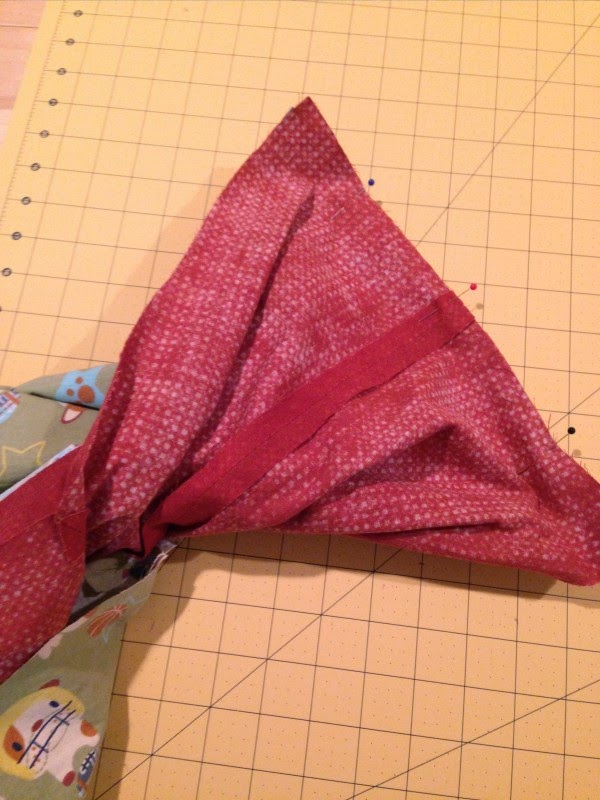
A. Press the edge of the crotch 1/2 inch down all the way around from one ankle to the other on both the exterior fabric and the lining fabric (I did not do this step here, but figured that it would helpful in retrospect). Unfold the pressed edges and sew the bottoms of the legs together, twisting the fabric to put them right sides together. Turn right sides out and press.

B. Measure up one leg from the ankle to the crotch and back down the other leg (basically the inseam x 2) and add one inch. For example, for the 18 month pants, this measurement is approximately 22 inch+1 inch=23 inch. Cut a piece of fabric that length by 2.5 inches. Fold right sides together and sew 1/2 inch seam on each short edge. Cut corners and turn right sides out and press.
 C. On the back edge, pin your narrow strip of fabric to the right side of the exterior fabric (raw edge to raw edge), making sure its the correct length. Baste together with a 1/4 inch seam. Fold under 1/2 inch (already pressed in step A) and sew the lining fabric to the exterior fabric with the strip sandwiched in between, using a 1/8 inch seam. Pin together the front edge and sew with a 1/8 inch seam.
 D. Add snaps or buttons/button holes to finish. I used snaps.

You can do this with either View A as shown or View B (shorts). I'm not sure how you could do it with the ruffles at the bottom in View C, but it is probably possible.
I hope this tutorial was helpful to you. Leave me any comments or suggestions for any changes or improvements or any questions you might have.
No comments:
Post a Comment